
Power Apps/Power Automateで使えるBing Mapsコネクタを、Power Automate編とPower Apps編に分けて紹介します。
このコネクタを使用することで、Power Apps/Power Automateから位置情報をより高度に扱えるようになります。
今回はPower AutomateでBing Mapsを使用する方法を紹介します。
使用準備
Bing MapsコネクタをPower Apps/Power Automateで使用するには、Bing maps Dev CenterでBing Mapsアカウントを作成する必要があります。
そして、作成したアカウント上でAPIキーを作成します。各種情報は適当に入力していただいて構いません。
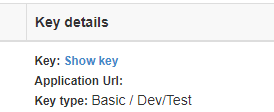
登録後、My Account→My keysより作成したキーをコピーします。

Show keyをクリックすると作成したキーが表示されます。
Power Automateのフロー作成画面より、Bing Mapsコネクタを選択します。
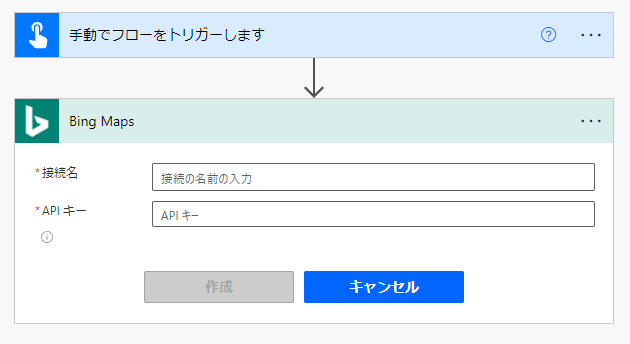
接続名とAPI キーの入力を求められるので、任意の接続名と先ほどコピーしたAPI キーを入力します。
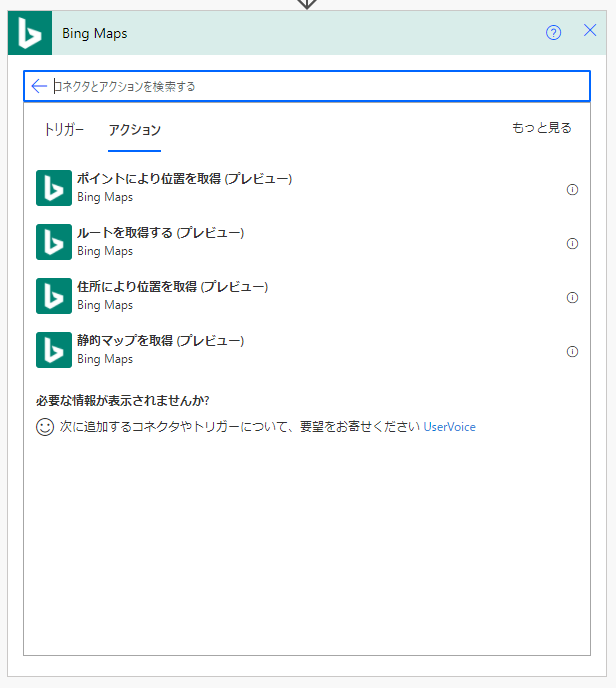
アクションが表示・選択できるようになれば準備完了です。
アクション
Power Automate編では以下2つのアクションを紹介します。
住所により位置を取得
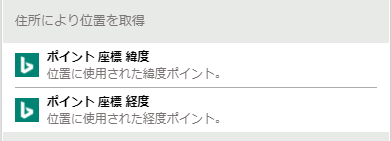
住所によって緯度・経度を取得するアクションです。大まかな位置でよければ、すべての項目を入力する必要はありません。(ただし同名の都市には注意)

緯度と経度を出力することが出来ます。Power BIのマップと組み合わせるといいかもしれませんね。
ポイントにより位置を取得
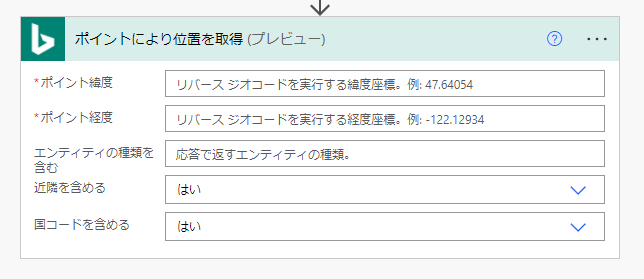
緯度と経度を入力することで、その場所の位置情報(住所、郵便番号など)を出力させることが出来ます。
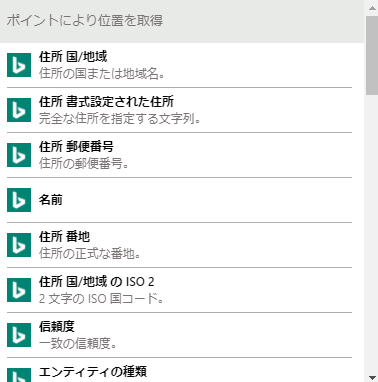
様々な位置情報を出力できます。
【Power Automate編】Bing Mapsコネクタの使い方 まとめ
- Bing MapsでPower Apps/Power Automateの高度な位置情報の処理が出来るようになる
- 住所により位置を取得するアクションは大まかな位置より緯度・経度を取得する
- ポイントにより位置を取得するアクションは緯度・経度により詳細な位置情報を取得する
Power Apps編に続きます。


コメント